Hardware Settings
Press the "Settings" Icon from the Sign-In screen to access the hardware settings.
Note: Sign out from your store if you are signed in.
![]()
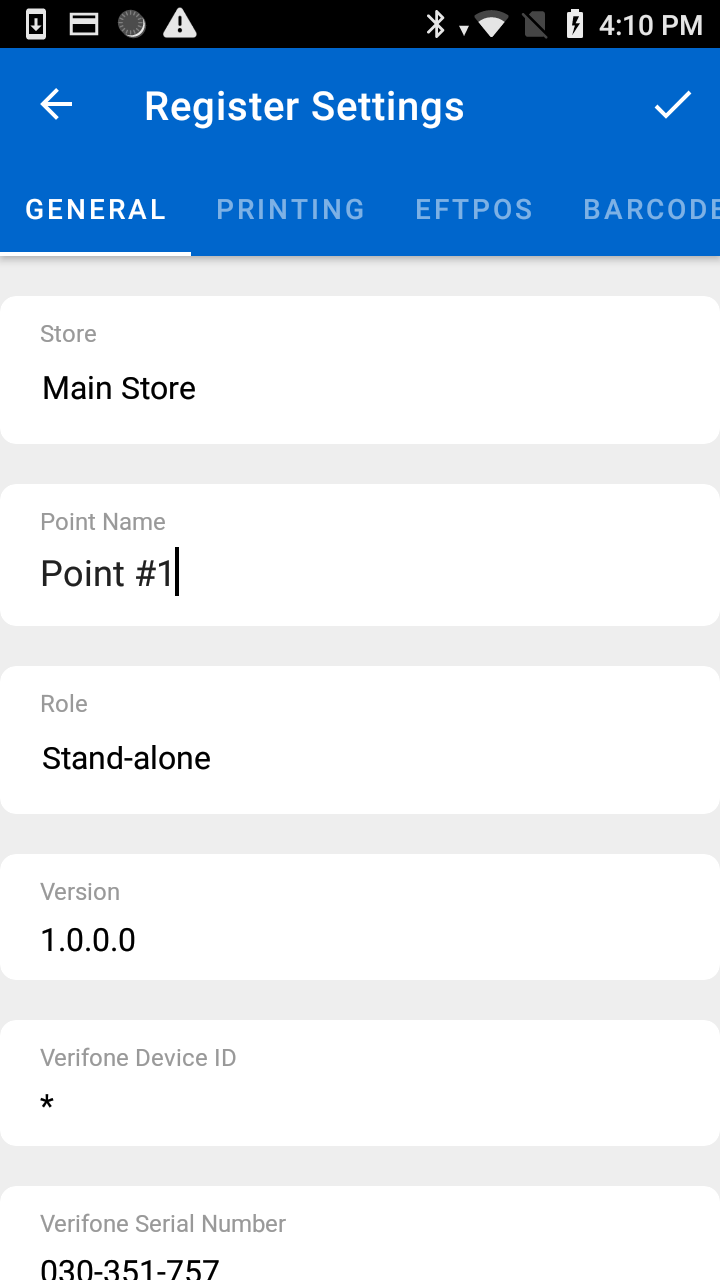
General
Store
The current store the register is located.
Point Name
Name of the register to use in reports.
Version
The current version of the application
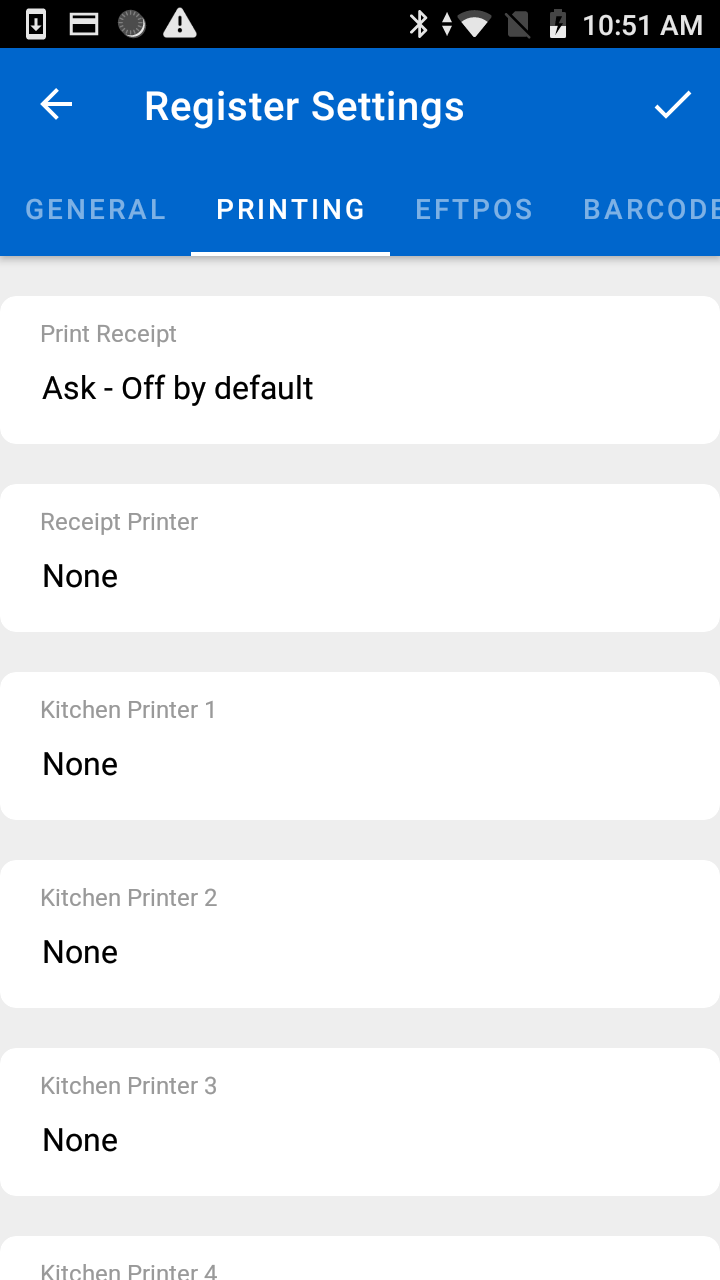
Printing
Print Receipt
Determines how you would like to print a receipt
Receipt Printer
None - no printer
Network ESC/POS - a network-connected ESC/POS capable printer (IP address and port required)
USB ESC/POS - a USB-connected ESC/POS capable printer (USB permissions required)
Bluetooth ESC/POS - a Bluetooth-connected ESC/POS capable printer (USB permissions required)
On Device - The receipt printer built-in on Android will be used.
Kitchen Printer
An option for hospitality if a store has a different printer for kitchen food orders.

EFTPOS
EFTPOS
The type of integrated EFTPOS (if any)
Note: Depending on the type of integrated EFTPOS selected there may be more options available. Please contact your provider for the value used for these settings.
Open Cash Drawer On Payment
Start the register every time a customer makes a payment.
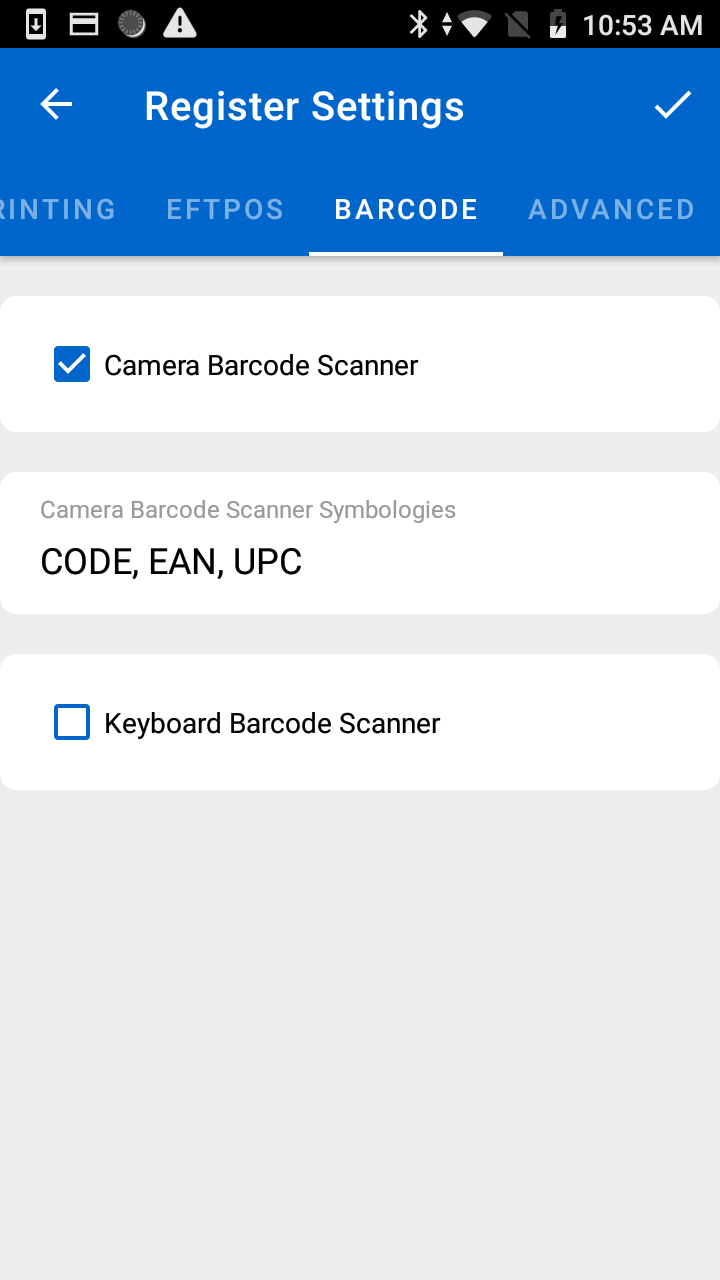
Barcode
Keyboard Scanner
If an Android device is linked to a barcode scanner, the scanner will function as a keyboard and read the barcode.
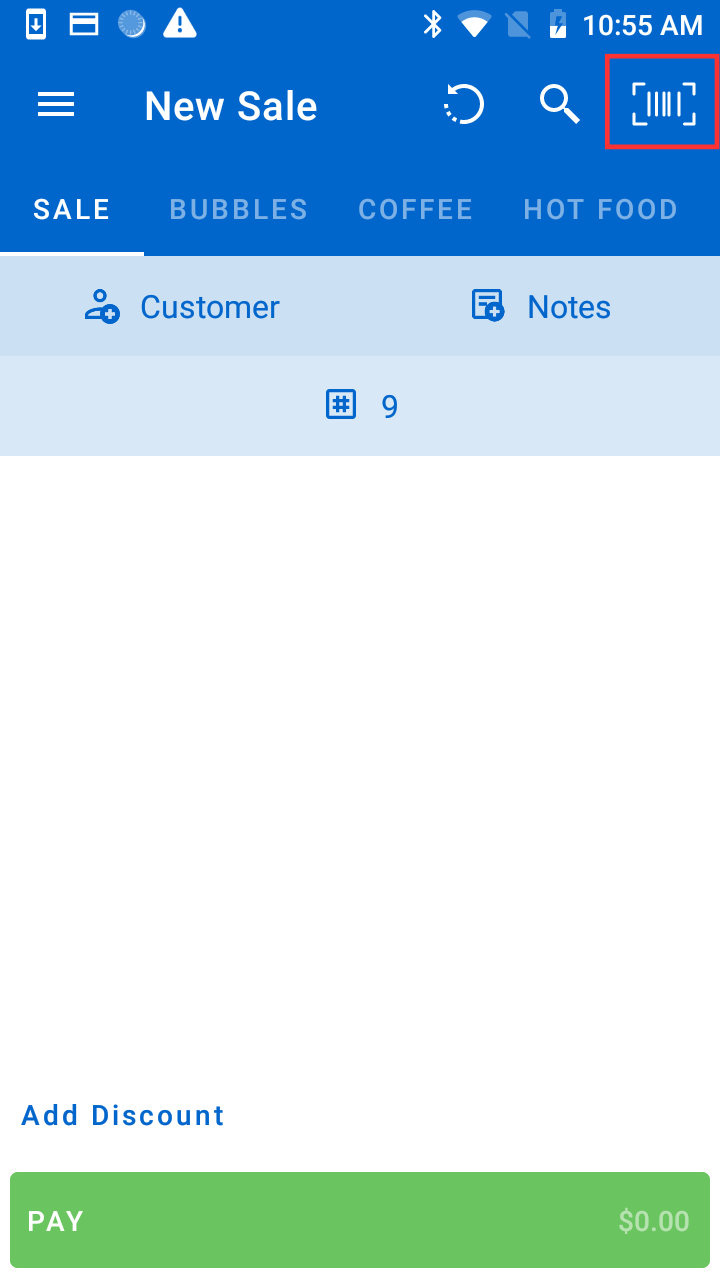
Camera Barcode Scanner
Mark the checkbox to activate the camera on your Android device for scanning products. Once selected, you can choose multiple barcode scanner symbologies according to your store's requirements. After enabling the feature, the barcode scanner icon will be visible on the sales screen, allowing you to scan items.
Advanced
Show the "Sale Completed" Dialog
A pop-up window will emerge to indicate the conclusion of a sale. Along with this, you will be prompted with options to print or email the receipt.
Show the "Kitchen Print" Dialog
A pop-up window will prompt whether a product should be printed as a kitchen order.
Product Button Images
Enable the image to display on a product button.
Enable Customer Display
Enables a display screen for customers to view their orders.
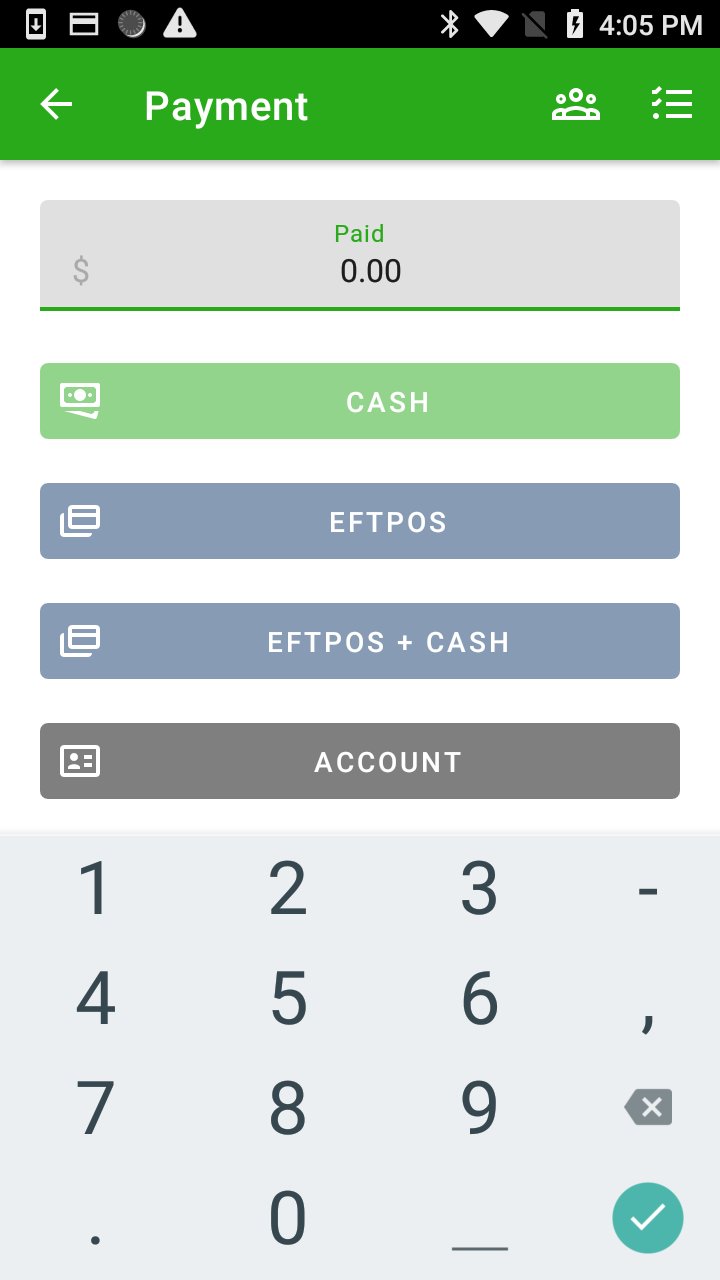
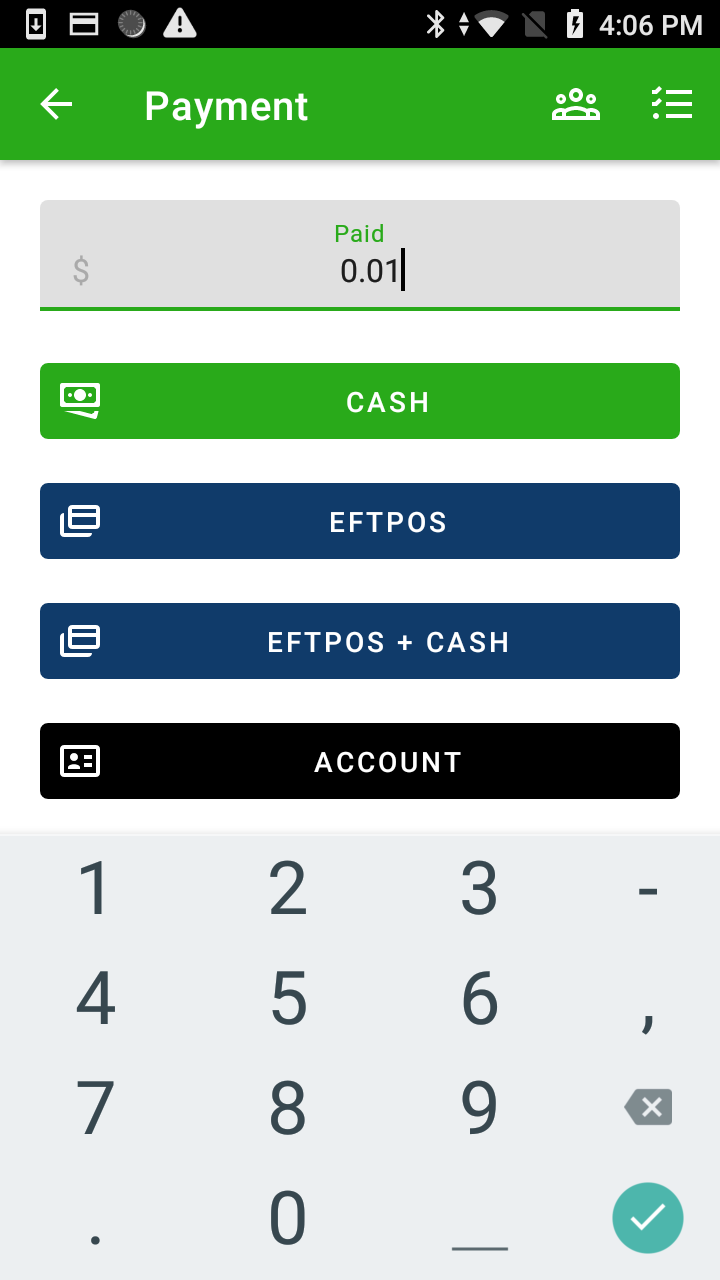
Currency Input
Currency input refers to a feature that allows you to enter money amounts in a specific format. When this feature is activated, you input the amount starting from the right side and as you add more money, the digits move all the way to the left.
Note: For example, when entering a dollar amount during the payment process, you begin with ‘$0.01’ on the right side and then continue adding digits to the left until you reach ‘$1.00’.