SalesPoint allows you to connect almost any receipt printer.
However, you must first install the printer as a Windows printer so that SalesPoint can access it.
A receipt printer correctly set up in Windows
SalesPoint will automatically select the default printer, however if this is not working correctly please follow these steps:
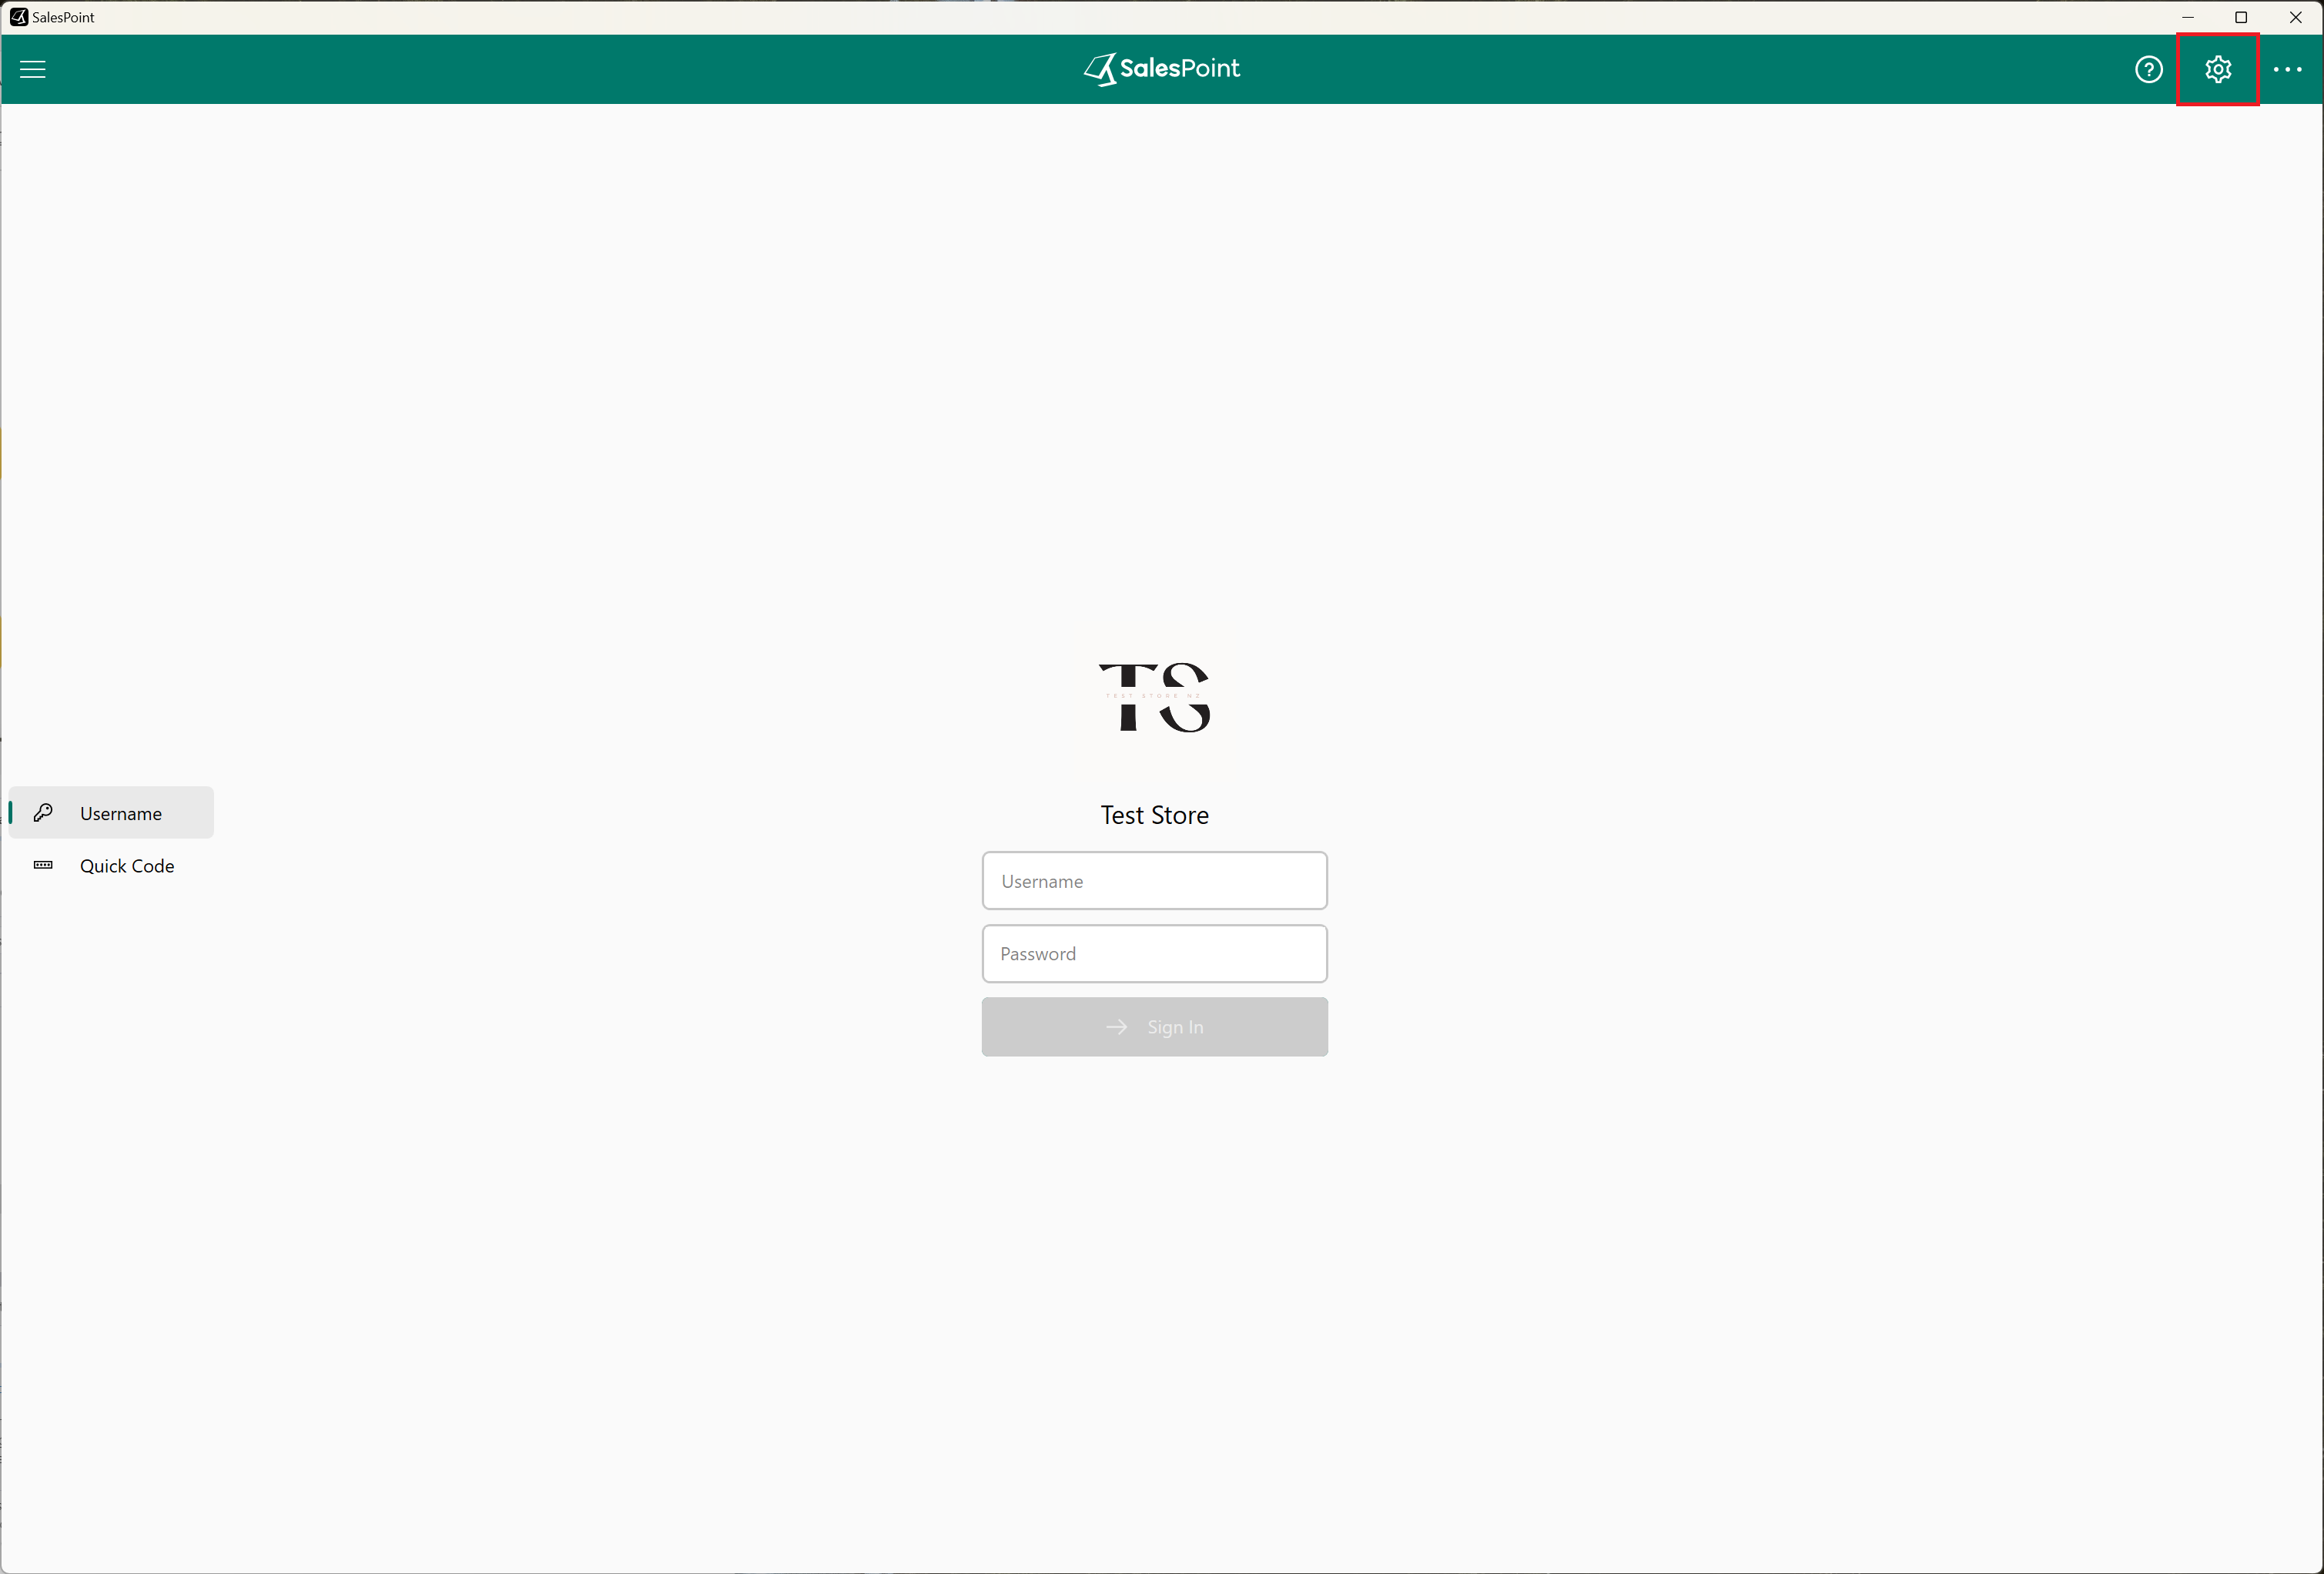
1. From the sign in screen, press the hardware setup button (outlined in red below)
2. From the tabs on the left select 'Printing'
3. For "Receipt printer" select your receipt printer and its appropriate paper size.
4. If necessary, for "Kitchen printer" select your kitchen printer and its appropriate paper size. You can use the same printer as the receipt printer.
5. Most receipt printers support ESC/POS commands (used by point of sale). However if your receipt is displaying strange characters - turn "Support ESC/POS off".
5. Press 'Save' to save the printer configuration.
Congratulations, the printers are now configured and will be used when printing a receipt, invoice or kitchen docket.